Hello Everyone
Here is a Bug Kart I’ve had since I was around 12. I am now 65 and trying to get it back together after spending time in boxes and multiple garages. In the mid-2000s I called K&P to find out if they could identify the model, Tom showed the pictures to his mom at the time and said it probably was a custom build for one of the race teams back in the day and was a combination of two of their models. I wish I could have met them. All original as far as I know. The 580 was rebuilt by Bill‘s Vintage Kart Engine in California about 15 years ago and was started for the first time two weeks ago. Runs great, I visited Max-Torque in Naperville and Jim made the clutch while I waited. I’m not sure and don’t remember how the brake was mounted, and from what I’ve learned here is that it’s probably a Trophy mechanical brake that needs some kind of mounting bracket, also the linkage for the throttle might have a broken arm for the spring. I’m not sure how it’s set up. Could use some recommendations for tires and also need to have a seat made. Any other suggestions would help.
Thank you for reading
Dene Lencioni, Saugatuck
Bug Kart Rebuild
Moderator: Rob Voska
-
Dene Lencioni
- Posts: 3
- Joined: Sat Mar 23, 2024 9:31 am
- Vintage Karting items owned: 1960s Bug Kart
- User Agreement: Yes
Bug Kart Rebuild
- Attachments
-
-
-
-
-
-
-
-
-
-
-
-
Terry Sullivan
- Posts: 297
- Joined: Sun Aug 12, 2007 9:36 am
- Vintage Karting items owned: 4 Bugs, including the Wasp bought by my Dad in 1959. Many Clintons and a few Macs
- User Agreement: Yes
- Location: Cumming, GA
Re: Bug Kart Rebuild
Here is a picture from the Bug factory - guessing late 1960, or early 1961.
Guessing that because around late 1961 the bottom of the steering hoop would bend/curve out to meet the frame rails.
Notice the 3 different rear ends for the karts. Your rear is there, but without the added vertical brackets in the back.
Your rear would solve a weak point in the frame right behind the seat.
Yours also has very thick mounts. I have seen the thin mounts crack with age and hard use.
- Attachments
-
Last edited by Terry Sullivan on Sat Apr 06, 2024 8:10 am, edited 1 time in total.
-
Dene Lencioni
- Posts: 3
- Joined: Sat Mar 23, 2024 9:31 am
- Vintage Karting items owned: 1960s Bug Kart
- User Agreement: Yes
Re: Bug Kart Rebuild
Thanks Terry. Cool picture
Re: Bug Kart Rebuild
"Stacking" mounts and brackets was popular. Darts used to stack axle bearing mounts to stiffen them up by bolting a second one up and welding around the bracket to help the back end.
Re: Bug Kart Rebuild
Is that the original brake caliper ? If so it should just bolt up directly on to the side of the chassis. Install the axle and put the rotor on then slip the caliper over the rotor and the caliper mounting points should line up with the holes on the chassis,
R.E.A.R.
R.E.A.R.
-
Dene Lencioni
- Posts: 3
- Joined: Sat Mar 23, 2024 9:31 am
- Vintage Karting items owned: 1960s Bug Kart
- User Agreement: Yes
Re: Bug Kart Rebuild
Thanks that should work with the newer disc. Should I add another collar on outside of disc tight to bearing?
- Attachments
-
Re: Bug Kart Rebuild
Get your caliper bolted on the frame, that will tell you where the disc needs to be on the axle.
R.E.A.R.
R.E.A.R.
Re: Bug Kart Rebuild
FYI Most of those disc's floated on the axle.
-
Terry Sullivan
- Posts: 297
- Joined: Sun Aug 12, 2007 9:36 am
- Vintage Karting items owned: 4 Bugs, including the Wasp bought by my Dad in 1959. Many Clintons and a few Macs
- User Agreement: Yes
- Location: Cumming, GA
Re: Bug Kart Rebuild
Rob is right. Floating disc is the way to go.
You just have make sure the disc has enough room to float.
That means the axle key should be long enough and it must have limited, or no travel in the keyway.
You just have make sure the disc has enough room to float.
That means the axle key should be long enough and it must have limited, or no travel in the keyway.
Re: Bug Kart Rebuild
Weather floating the disc or not, grind down the keyway a bit so it will slide under the bearing some then make sure to have the keyway stick out past the rotor about 1" and put a shaft collar over the keyway to prevent it from moving or make the keyway long enough to go all the way out to the axle step for securing both the rotor and the wheel with a single key. Check your brake system everytime you run, look for worm keyways if floating the disc and or fractures in the disc itself. A little caution goes along way.
Don't be this guy.
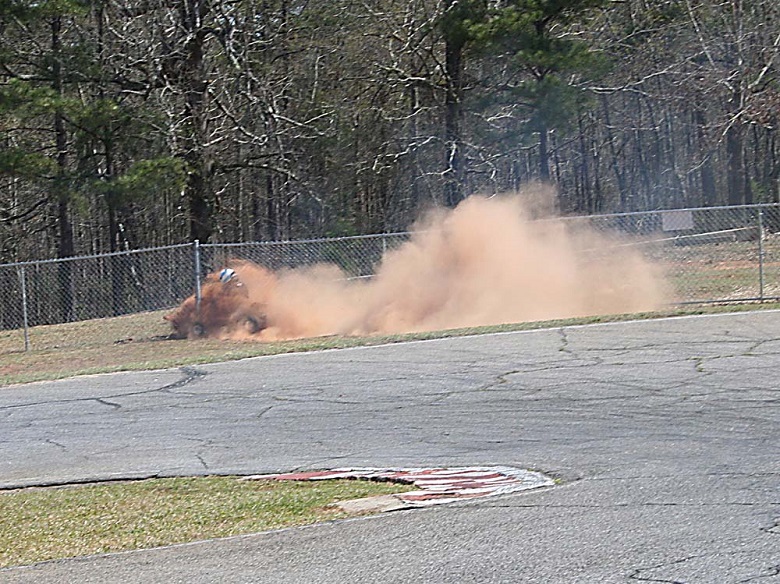
R.E.A.R.
Don't be this guy.
R.E.A.R.